It’s been a slow week on the blog because I’ve been sick — not sick enough to stop doing All The Things, but sick enough to require naps (plural!) each day. My schedule is so tightly packed that adding naps can put me behind on all sorts of things, and in this case, the blog fell off my schedule. But I’m better now, and I have lots of good things to post over the next few days.
Starting with my round one entry into the Pattern Review Sewing Bee Contest.

The idea behind this contest is pretty simple. It runs for four weeks. In each week, a project is defined, rules are presented, and we have one week to sew the item and post the review. Each week, a winner is announced (with really amazing prizes!) and a percentage of entries are eliminated. Something like 340 people signed up for the contest, but only 141 people completed the first week project and posted the required review. As I write this, I don’t know if I will advance to the next round. The results will be posted sometime later today.
For this round, we were required to make a lined, A-line skirt with a zipper, waistband, and hem. This was a very simple project, in other words, and my first thought was that very few people would drop out on this round. A lined A-line skirt, under normal circumstances, is roughly one afternoon’s worth of work. You have side seams, maybe a center back seam, a zipper and waistband, some kind of closure for the top of the waistband, the lining, and the hems. It’s not complicated, and the fitting on such a project is usually moderate at best.
Because this style is so clean and minimal — something like a blank slate, really — I thought long and hard about what I wanted to do before I started work. I pored over my pattern collection and dug through every inch of my (not very extensive) fabric stash. Because my wardrobe is still so meager, I knew I wanted to make a basic, everyday sort of skirt, something that would be a real wardrobe builder rather than a statement piece. But I also know that a statement piece would be more likely to advance to the next round. Dilemma!
Here’s how I resolved that particular need to balance everyday wear-ability with enough pizzazz to (please, I hope) advance to the next round of this contest. I found a pattern in my stash, Simplicity 1322, that is an a-line skirt with a mock wrap front. Take a look at the line drawings.

I made view E, which has a front overlay piecing that is designed like a regular wrap skirt, but the whole thing is held together by the waistband. In other words, that vertical line down the front of the line drawing shows where the pieces overlay. I chose to use a very plain, but deliciously smooth and expensive-looking gray cotton sateen that I picked up from Mood (link to the fabric). I find that Mood’s basics, such as this sateen, tend to be reliably and consistently of a good overall quality. It has become my go-to place for this kind of fabric. I do have some local sources with decent basics, but their prices tend to be higher, so Mood is usually my first choice. I worry sometimes about ordering fabric without being able to handle it first, but while other online shops have disappointed me, Mood has not. Knock wood.
Because the sateen was so plain, I decided to add a bit of trim along the wrap front openings to give it just a touch of interest. My first thought was leather piping — I thought black leather would add a touch of toughness to a sweet a-line shape. (I love mixing a bit of grit with a bit of sugar in my outfits.)But I couldn’t find black leather piping anywhere I looked, and time was limited for this challenge, so I gave up the hunt and used a very tiny black cotton piping instead. It’s delicate, but it’s a nice touch. Here’s a shot of how it looks set into the seam. I took this picture when I was ironing the front overlay — the hem is on the right side of the photo, and the bottom edge of the fabric is the vertical edge of the front overlay piece. The black cotton piping provides just enough sharpness to make that line more evident, but it’s not so much to be obtrusive.

This skirt was unlined, so I had to add a lining. And that became the real challenge for this assignment.
Normally, a skirt lining is attached only at the waistband, and it hangs free from the waist to hem, except for maybe a bit of tacking along the zipper. That zipper tacking, by the way, serves a dual purpose — first, the zipper is a continuation of the waist opening, so it’s aesthetically pleasing to continue the seam along that opening, and second, as a matter of function, it keeps the lining from getting caught in the zipper teeth. It always shocks me to find ready-to-wear skirts with a lining left free along the zipper. This is one construction shortcut that makes me realize just how evil some garment manufacturers are — it’s as bad as this stupid current trend to eliminate hems. Rant, rant, rant, enough about that.
In this case, because the wrap front opening would move when I walk, I thought it made sense to attach the lining vertically along that opening. I chose a printed poly chiffon because I knew the lining would be momentarily visible, just in flashes, as I walk and move. But I wanted it to be clean and well-finished, not just flashy. So I really had to think through how to attach the lining to make this work. These are the steps I used.
- French seams along the side seams of the lining, and along the center back up to the point where I expected the bottom of the zipper to hit. I had to use French seams because this is a poly chiffon lining, and chiffon just looks neater with this sort of seam.
- Attach the piping to the vertical overlay seams, then attach the lining to the skirt fronts along these vertical seams.
- Sew the side seams of the skirt.
- Overlap the front overlay pieces and baste along the waist line to join the lining to the skirt. I stopped this basting an inch or so from the center back seam to make it easier to insert the zipper.
- Insert the zipper into the skirt fabric.
- Attach the waistband.
- Sew the lining to the zipper.
- Rolled hems. I had to hand-finish the lining hem where the lining was attached to the vertical front overlays. I had to pick enough of it clean from the skirt front and piping to be able to roll the hem, then I had to reattach the rolled hem to the overlay. This was a bit of a hassle, and I wish I’d thought to hem the lining before attaching it to the skirt on those vertical seams.
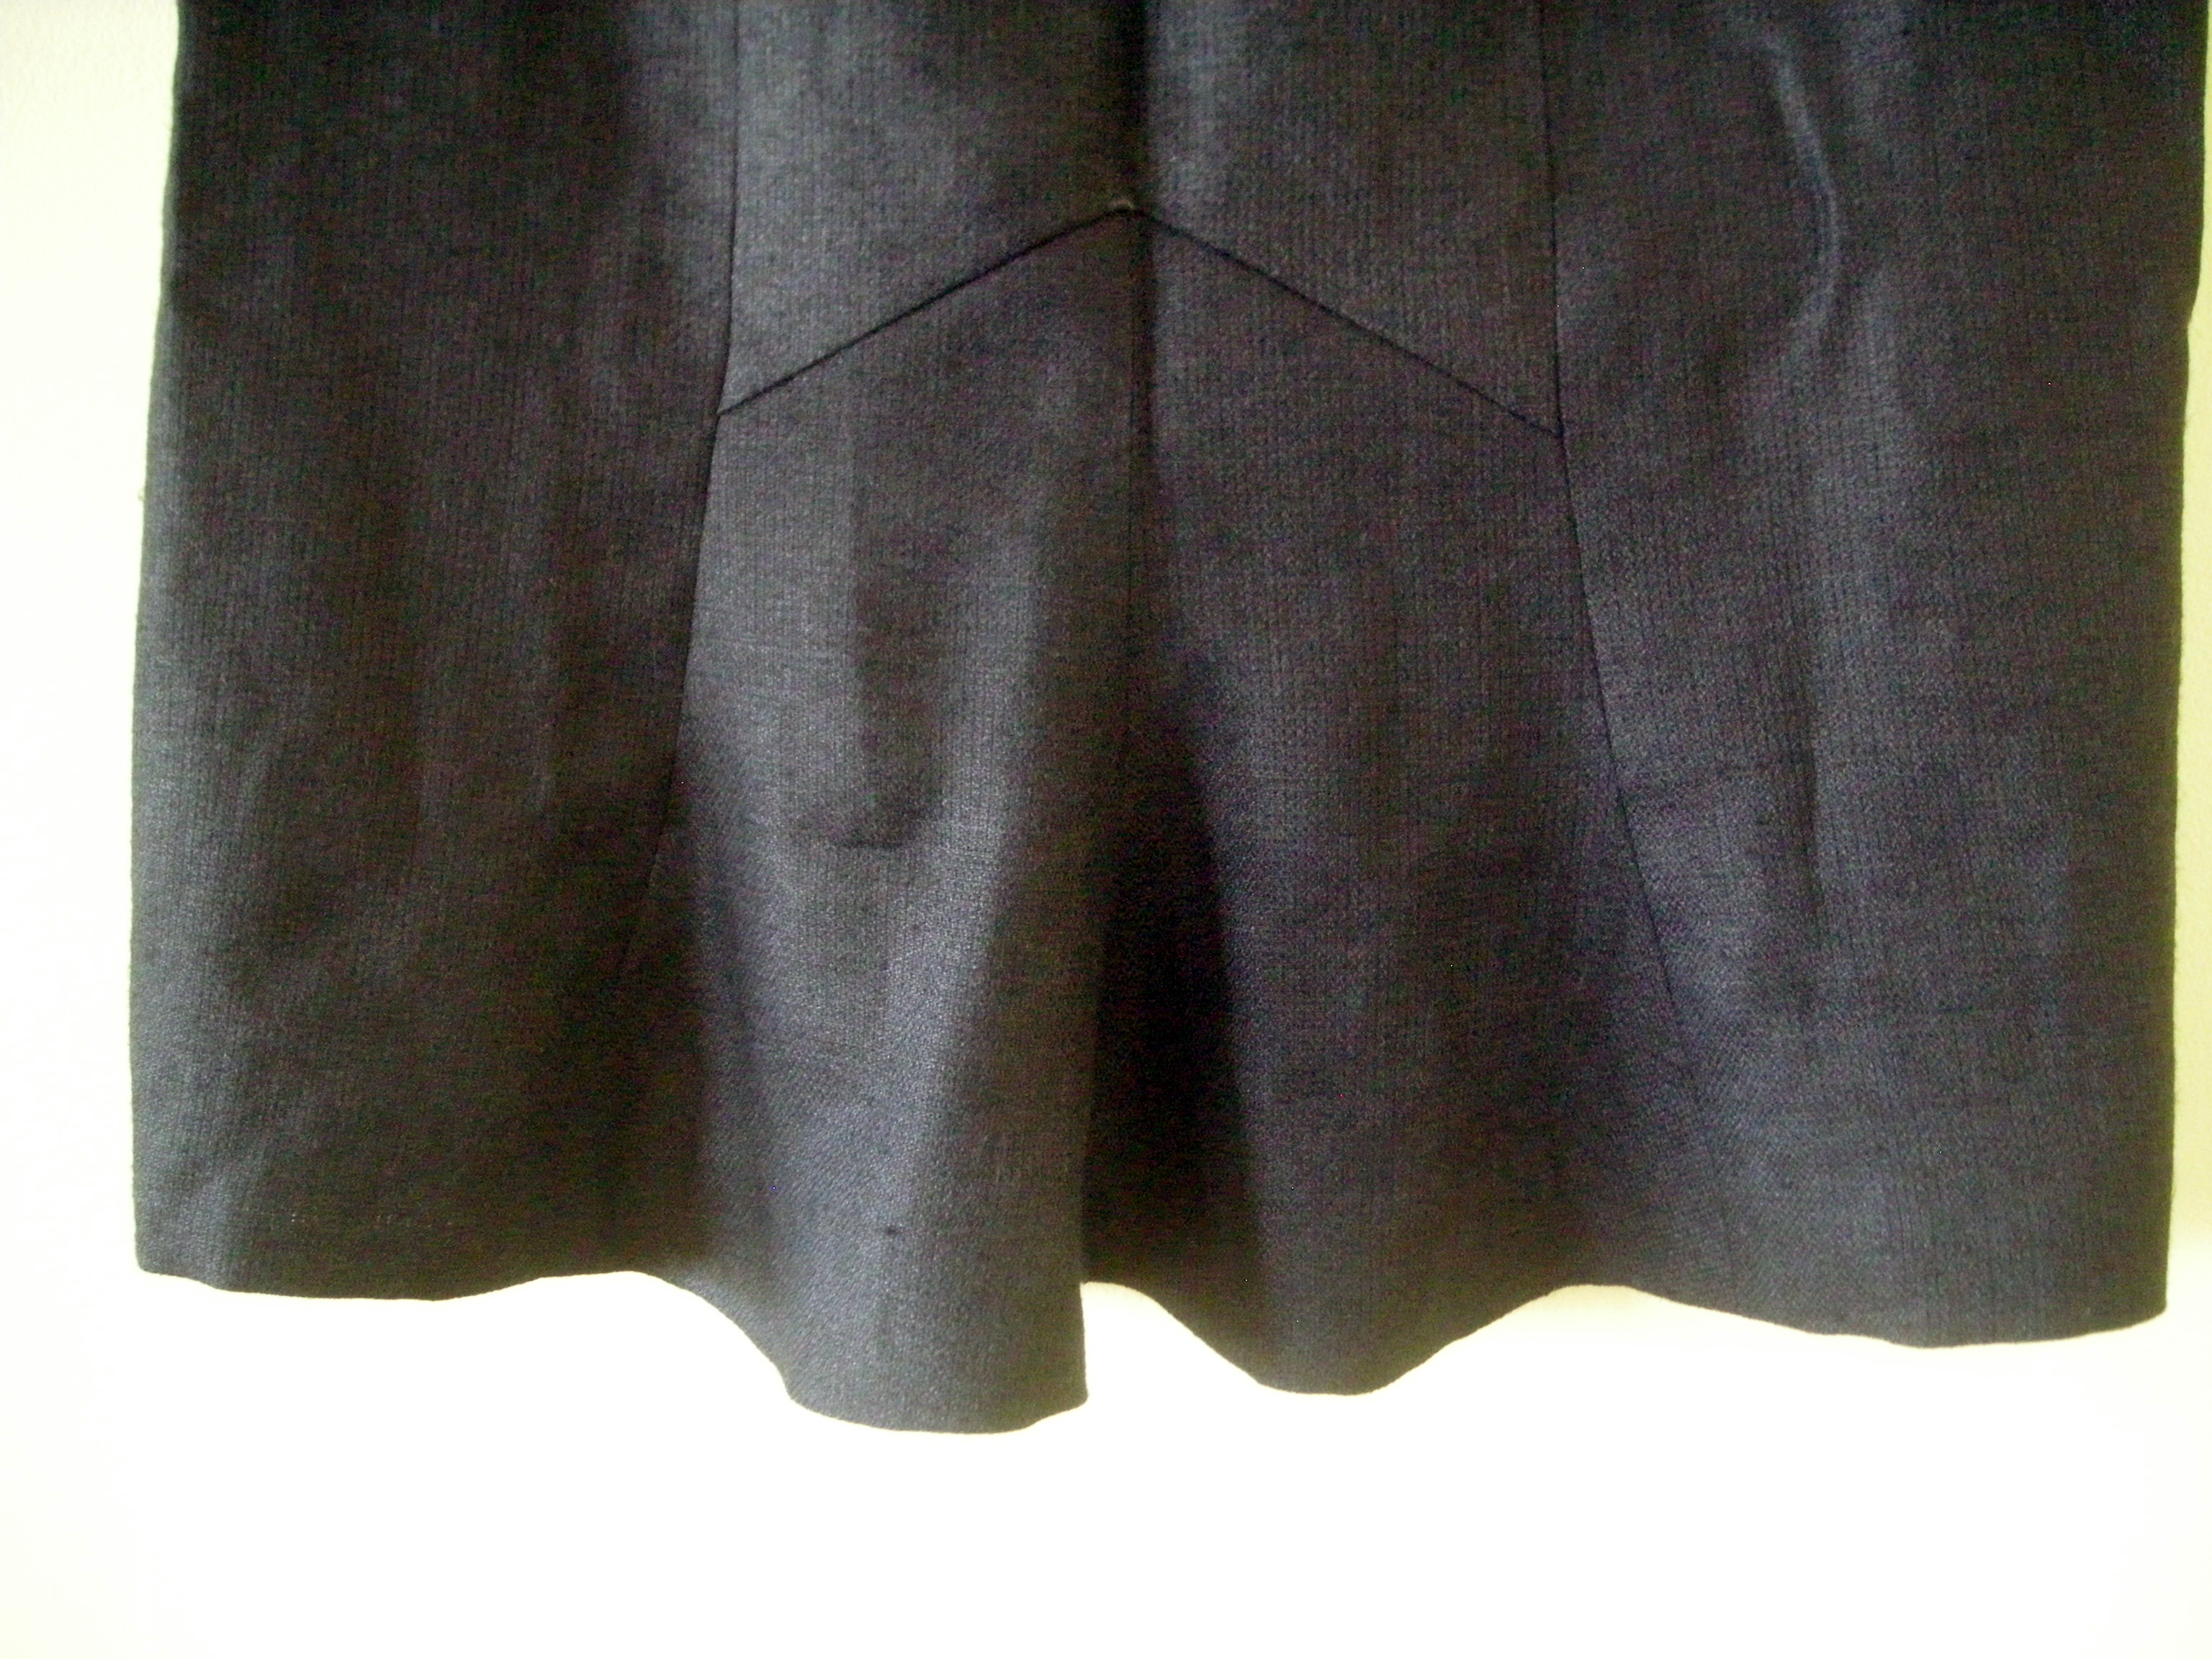
Here’s a view of how that skirt overlay looks when the piece moves to reveal the lining.

You can see how the bit of piping adds a nice clean edge to differentiate the printed lining and the main skirt fabric. Also, how fun is that print? Stars, you guys. I do love some stars. You can also see just a bit of clumsiness in the corner join where I had to pick apart that vertical seam, roll the hem on the lining, and reattach it to the skirt. It’s not dreadful, but it’s not perfect, either. I would call a do-over, except for one giant problem with the lining fabric. Check this out.

Could you die? Look at that mess. This fabric absolutely disintegrates along cut edges. Talk about crap. I bought this from Vogue Fabrics on Roosevelt Road (which is closing forever in a week), and while I loved the print, I HATED handling the fabric. Cutting chiffon is a bitch in any case, but I was prepared for that. What I was not prepared for was the way this textile simply could not hold itself together in any way. Handling it at all meant that it would fray. A lot. Utter garbage fabric, and I bought plenty of it because I thought the print was so fun. (Am I the only one who has noticed the sharp fall-off in quality from Vogue Fabrics in recent years? Shopping there has become a treasure hunt — you have to sort through so much bad poly and rayon to find anything worth sewing. There are still some decent fabrics to be found there at reasonable prices, but you have to be so careful. I can’t imagine making the trip to the still-staying-open Evanston location all that often, given the way their stock has changed.)
Anyway, here is the finished skirt.

It’s very plain on the hanger, but you can see the piping along the overlay. You can’t see the lining at all when I’m just standing in the skirt, but when I walk, little flashes of stars pop up along the piped edge. It’s a fun effect, and I’m really pleased with how this skirt turned out. It will be a good everyday skirt, but it avoided being boring. And that adds a gray skirt to my wardrobe, so I can tick that off the wardrobe-building list.
Theresa